Enabling Developer Mode on Chromebooks: Tips, Tricks, and Warnings
Unlock your Chromebook's potential with Developer Mode. Follow Neverinstall's guide for a secure way to explore Linux or Windows OS on ChromeOS.

Chromebooks are known for their simplicity and security, but did you know that enabling Developer Mode can unlock a whole new world of possibilities? Developer Mode grants you greater control over your Chromebook, allowing you to install Linux, run alternative operating systems, and push the boundaries of what your device can do.
In this comprehensive guide, we'll walk you through the process of enabling Developer Mode on your Chromebook. We'll cover what Developer Mode is, its benefits and risks, and provide step-by-step instructions to turn it on safely. Let's dive in!
While Chrome OS's Developer Mode can be invaluable for specific tasks, it's important to note that Google does not provide support for this feature, as it's primarily designed for developers. This mode can unlock advanced capabilities on your Chromebook, but it's essential to proceed with caution and be mindful of the tasks you choose to use it for. It's also essential to note that if you are looking for sandboxed environments where you can securely experiment, cloud PCs form an excellent starting point.
What is Chromebook Developer Mode?
By default, Chrome OS is designed to prioritize security and stability. However, enabling Developer Mode on Chromebook unlocks a whole new level of capabilities for power users and tinkerers. This mode grants root access to the operating system, lifting restrictions and allowing the installation of software beyond the Google Play Store or Chrome Web Store. It opens up avenues for coding projects, experimentation, and unleashing the full potential of your Chromebook.
Normal Mode vs. Developer Mode
In Normal Mode, your Chromebook operates in a secure and user-friendly environment designed to protect you from viruses and ensure smooth performance. Everything you download is sandboxed, preventing potential threats from causing significant harm.
On the flip side, Developer Mode transforms your Chromebook into a flexible playground for tech enthusiasts. You can install a wider range of apps, including Linux programs, delve into the system's inner workings, and even boot from external USB drives. It's a setting that caters to those who love to experiment with technology and coding.
When you switch your Chromebook into Developer Mode, you're essentially removing the training wheels and granting yourself direct access to the core functionalities and systems that Chrome OS normally keeps under lock and key.
How to Enable Developer Mode on a Chromebook
When considering activating Developer Mode on your Chromebook, it's crucial to be aware of the potential impact this decision might have on your device's warranty.
The effect of enabling Developer Mode on your warranty can vary significantly between manufacturers. Some may view this action as a violation of the warranty terms. Therefore, before you proceed with enabling Developer Mode, it's a wise step to reach out to your device's manufacturer directly.
- Backup Your Data: Before proceeding, ensure all important data is backed up. Enabling Developer Mode wipes the Chromebook's local data.
- Enter Recovery Mode: With the Chromebook turned off, press and hold the
Esc+Refreshkeys, then press thePowerbutton. Keep holding the first two keys until you see a recovery message. - Activate Developer Mode: Press
Ctrl+Don the recovery screen to trigger Developer Mode. Confirm your choice by pressingEnterwhen prompted. The Chromebook will then reboot and initiate the transition, which can take about 15 minutes. - Initial Setup: After the process completes, you'll need to set up your Chromebook again. Note that every boot will display a warning screen; press
Ctrl+Dor wait 30 seconds to bypass it.
The Risks of Enabling Developer Mode
While Developer Mode offers newfound freedom, it also comes with a caveat – potential security threats and decreased system stability. When you enable Developer Mode on your Chromebook, you're essentially trading some security for increased control and customization options.
A closer look at Chromebook's Developer Mode
- Full Shell Access: Developer Mode provides access to the Chromebook's command line interface, allowing advanced users to run commands, install packages, and manipulate the system's core aspects. This is particularly useful for software development, educational purposes, or simply exploring the inner workings of the operating system.
- Install Linux Applications: Beyond the Google Play Store's offerings, Developer Mode enables the installation of Linux applications. This vastly expands the range of software you can use, including development tools, editors, and other utilities not available through standard Chrome OS channels.
- Sideload Android Apps: While Chrome OS supports Android apps via the Play Store, Developer Mode allows you to sideload apps directly. This means you can install applications not officially available on the Play Store, providing a broader selection of tools and games.
- Customize the Operating System: With Developer Mode, users have the freedom to tweak and customize their operating system. This could include changing system settings, modifying the UI, or experimenting with different configurations to optimize performance or functionality.
- Boot from External Media: One of the most powerful features of Developer Mode is the ability to boot your Chromebook from external media. This opens the door to running alternative operating systems, such as Linux distributions, directly from a USB drive, without altering the Chromebook's internal storage.
- Develop and Test Software: For developers, Developer Mode is invaluable. It allows the testing of software directly on the Chromebook, including the development of Chrome applications and extensions. This mode also facilitates the testing of web applications in a more controlled environment.
- Access to Experimental Features: Developer Mode gives users early access to features and settings that are in the experimental phase and not yet released to the general public. This can include beta features, developer tools, and options that enhance productivity or add new functionalities to the Chromebook.
Warnings Before Enabling Developer Mode
Venturing into Developer Mode is filled with endless possibilities but not without risks. Here are a few considerations:
- Security Vulnerabilities: Developer Mode disables some of the built-in security features of Chrome OS, making your device more susceptible to malware and attacks.
- Warranty Implications: Depending on your device's manufacturer, enabling Developer Mode might void the warranty.
- Stability Issues: With the freedom to alter system files comes the potential for crashes and instability, especially if you're experimenting with unfamiliar software.
It's more about weighing the benefits of unrestricted access against the potential downsides.
Troubleshooting Common Issues in Developer Mode
Even with careful planning, you might encounter issues while in Developer Mode. Here are some common problems and their solutions:
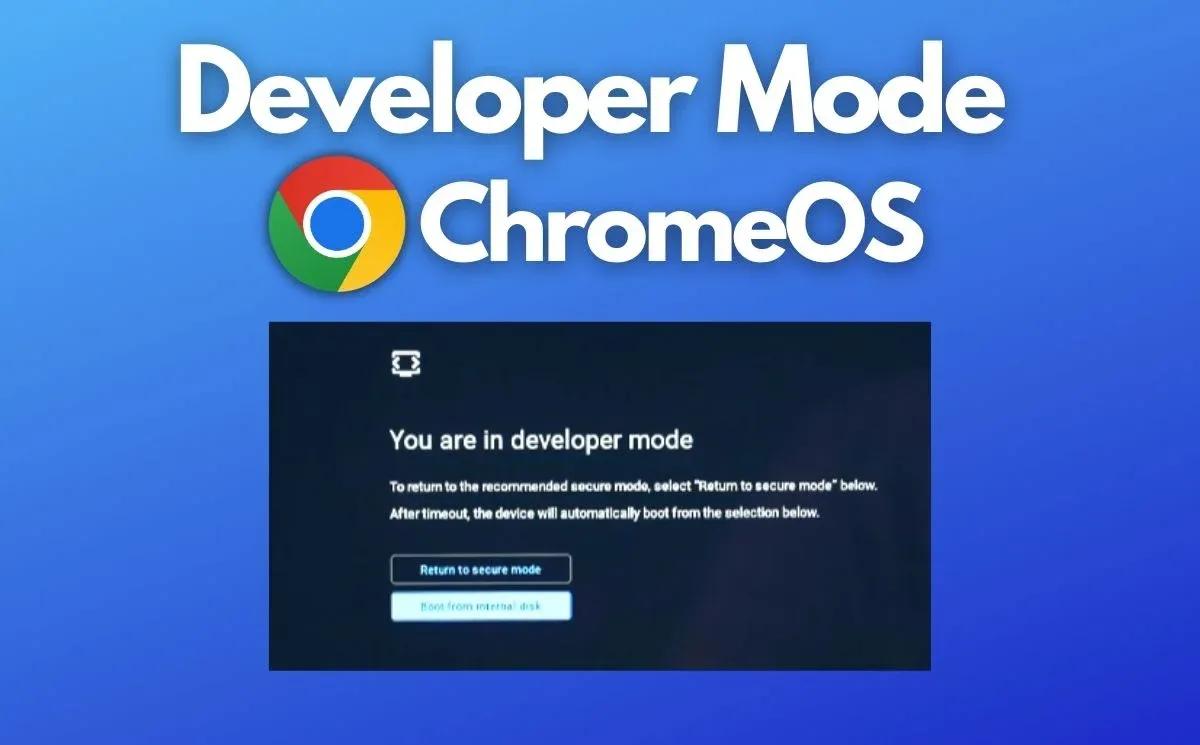
- Boot-up Warning Screen: This screen is a standard part of Developer Mode, reminding you that the device's security features are disabled. You can bypass it by pressing
Ctrl+D. - System Instability: If you install unstable software, your device might crash or behave unpredictably. In such cases, consider performing a Powerwash to reset the device, but remember, this will erase all local data.
How to Safely Exit Developer Mode and Restore Default Settings
Perhaps you've satisfied your curiosity or accomplished your development goals and now wish to return to the secure embrace of Normal Mode. Exiting Developer Mode is a straightforward process but requires caution as it wipes all local data from your device.
- Initiate the Reversion: Restart your Chromebook and, upon seeing the Developer Mode boot screen, press
Spacebarto re-enable OS verification. - Follow the On-Screen Instructions: Confirm your choice to disable Developer Mode. Your Chromebook will then begin the process of reverting to its default state, a journey back to Normal Mode.
- Set Up Your Chromebook (Again): Once the process completes, you'll be greeted with the familiar setup screen. Log in, and you'll find yourself in the pristine, secure environment of Chrome OS's Normal Mode.
Optimizing Chromebook Performance in Developer Mode
While Developer Mode unleashes your Chromebook's potential, it also demands a mindful approach to performance and security. Here are some tips to keep your device running smoothly:
- Manage Your Resources: Developer Mode can be resource-intensive. Keep an eye on your applications and tabs, closing those not in use. Tools like the Chrome OS Task Manager can help monitor your device's performance.
- Secure Your Device: With the usual security features dialed back, it's crucial to be vigilant. Install trusted software, use secure connections, and consider using a VPN for an additional layer of security.
- Stay Updated: Regularly check for and install updates to your Linux packages and any other software you've installed. While Chrome OS updates may require more manual oversight in Developer Mode, keeping your software current is key to maintaining performance and security.
- Back Up Your Data: In a realm where experimentation is encouraged, backing up your data is essential. Use cloud storage solutions or external drives to safeguard your work against any mishaps or data loss.
By managing its performance and securing its environment, you ensure that the adventure never comes at the expense of reliability or safety.
Whether you're looking to expand your technical skills, install alternative operating systems, or simply satisfy your curiosity, Neverinstall also offers Linux and Windows Cloud Computers that allow for a secure and native experience that makes it a developer's favourite, especially for running on Chromebooks.